Prerequisites
Before integrating Google Drive with MuleSoft, ensure you have the following accounts, tools, and environment ready:
1. Google Requirements
A Google Account (Gmail or Workspace)
Access to Google Developer Console
Permission to create:
Projects
OAuth Consent Screen
OAuth 2.0 Credentials
API Enablement (Google Drive API)
2. MuleSoft Requirements
Anypoint Studio installed
Recommended version: 7.x or later
Mule Runtime 4.x
Internet access for downloading connectors from Anypoint Exchange
3. Google Drive Connector
The Google Drive Connector downloaded from MuleSoft Exchange
4. Project & Authorization Requirements
A running Mule application with an HTTP Listener
A Redirect URI that you will configure in both Google Developer Console & MuleSoft:
5. Basic Knowledge Requirements
Understanding of:
HTTP connectors
OAuth 2.0 Authorization Code flow
Mule Properties & Secure configuration (Client ID/Secret handling)
Anypoint Studio flows
Content
Integrating Google Drive with MuleSoft allows you to automate file uploads, downloads, sharing, and organization. This guide walks you through every step—from setting up the Google Developer Console to configuring MuleSoft with OAuth 2.0 to interact with Google Drive.
Part 1: Google Developer Console Setup
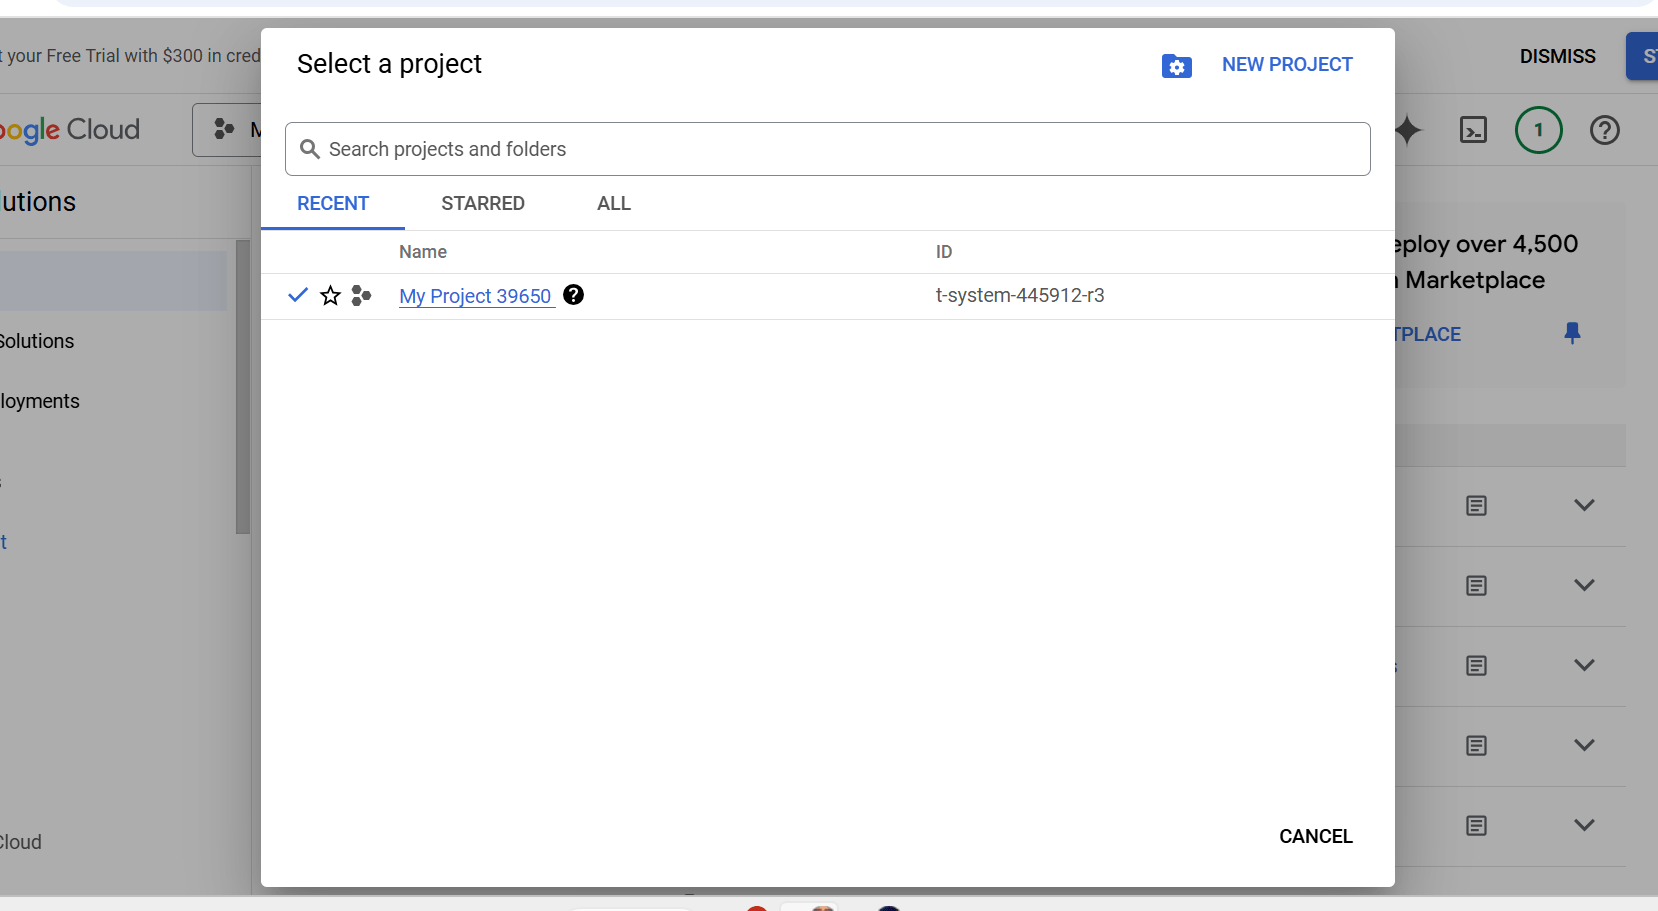
1. Create a Project in Google Developer Console
Open the Google Developer Console.
Click “Select a project” → “New Project”.
Enter your project name and click Create.
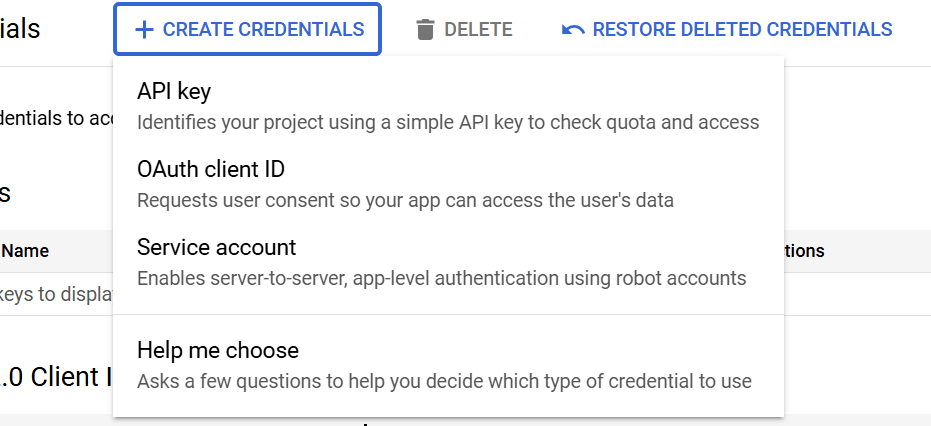
2. Create OAuth 2.0 Credentials
Go to the Credentials tab in the left-hand menu.
Click “Create Credentials” → “OAuth 2.0 Client ID”.
3. Create OAuth Consent Screen
If this is your first OAuth setup, Google will prompt you to create a consent screen.
Select “OAuth consent screen.”
Enter required fields:
Application name
User support email
Developer contact email
Choose External if users outside your organization will access the app.
Click Save and Continue.
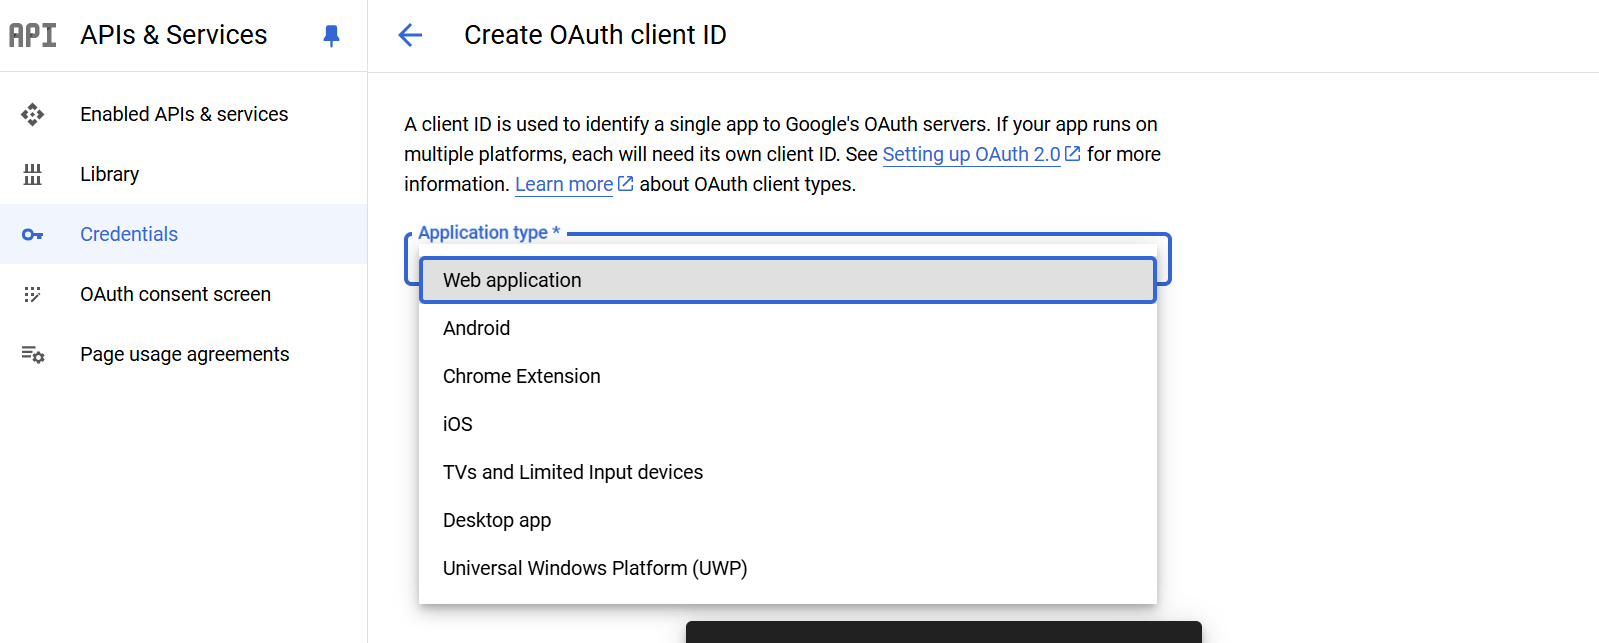
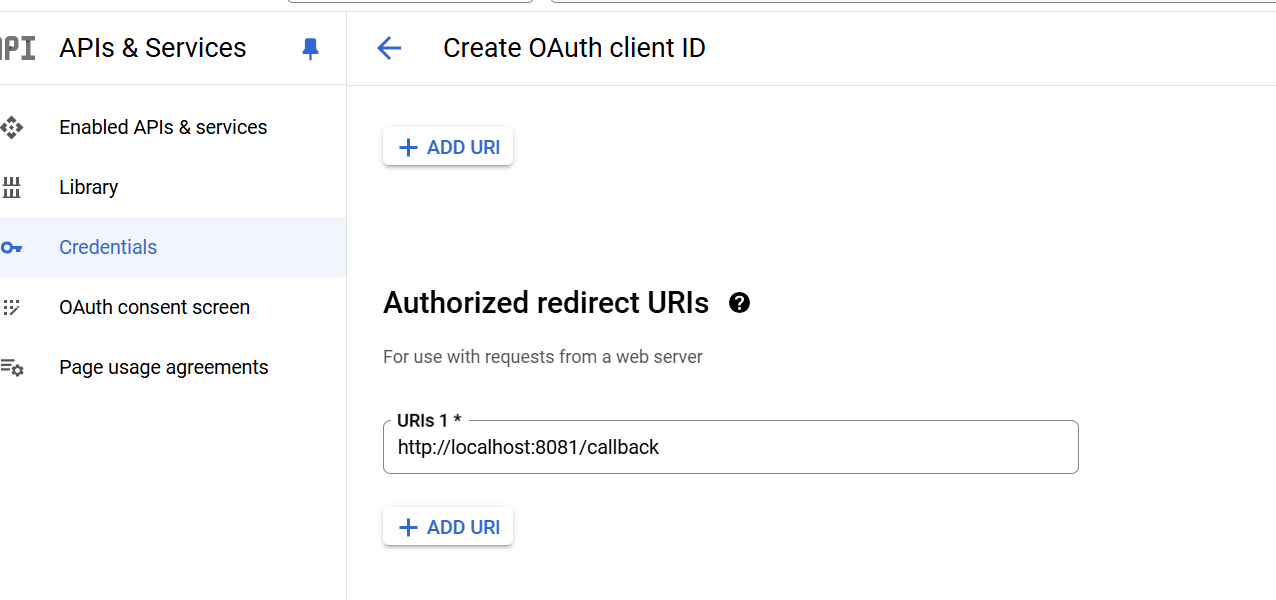
4. Create OAuth Client ID
Under “Create OAuth client ID”, choose Web application.
Add the following in Authorized redirect URIs:
http://localhost:8081/authorizeClick Create.
5. Obtain Client ID and Client Secret
After creating the OAuth Client:
Copy the Client ID
Copy the Client Secret
You will use these values inside MuleSoft.
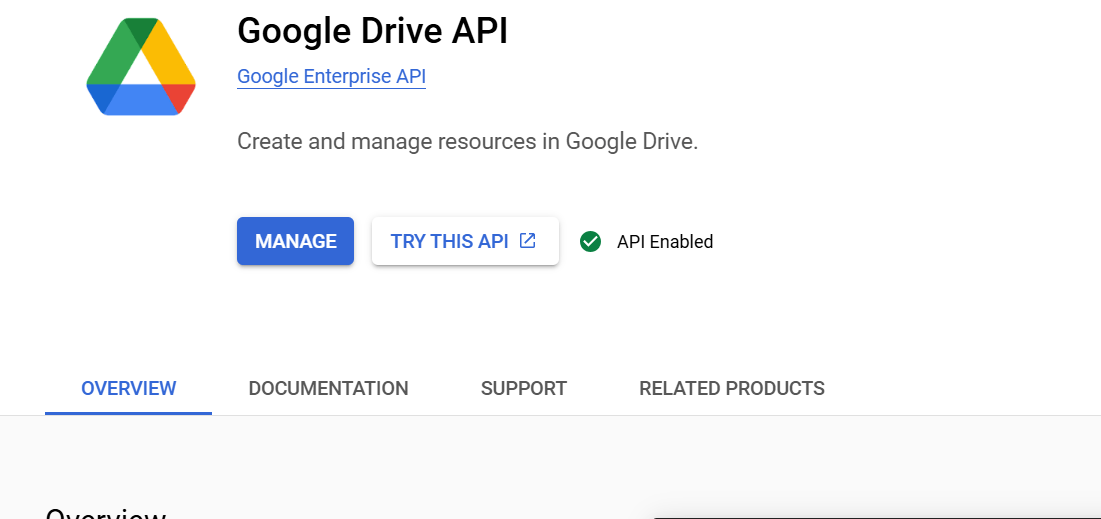
6. Enable Google Drive API
Go to the Library section.
Search “Google Drive API”.
Click it → press Enable.
Part 2: MuleSoft Configuration
1. Download Google Drive Connector
In Anypoint Studio:
Open the Exchange tab.
Search Google Drive Connector.
Download and add it to your Mule project.
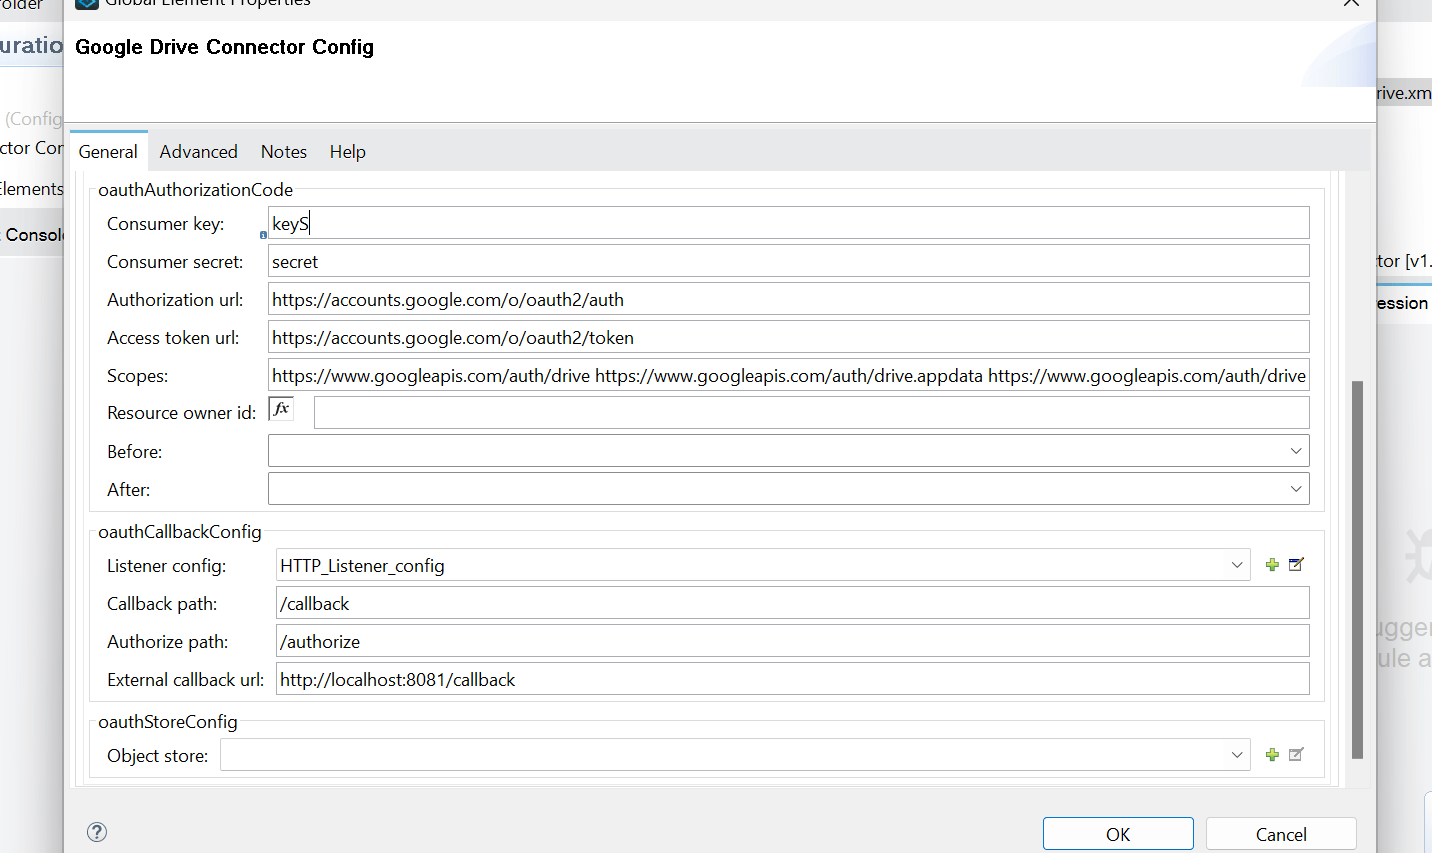
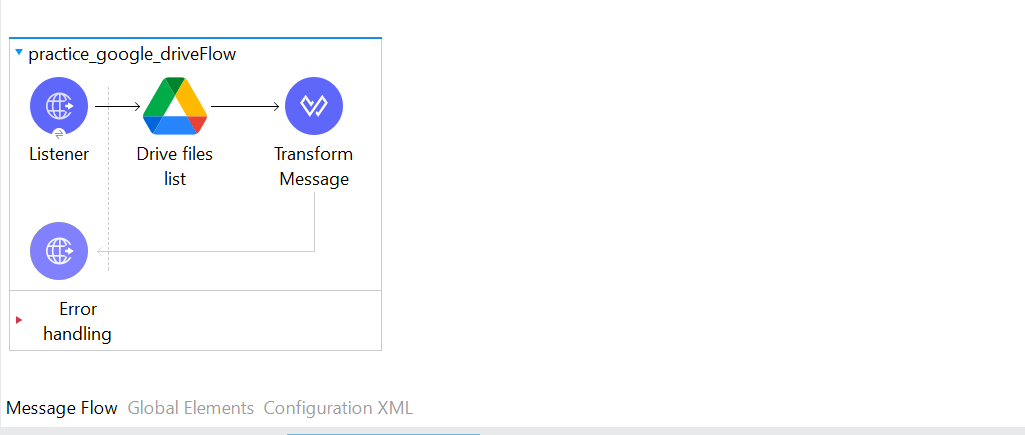
2. Configure Google Drive Connector in MuleSoft
Drag the Google Drive connector into your flow (e.g., Drive Files List operation).
Enter the required fields:
Client ID – from Google Developer Console
Client Secret – from Google Developer Console
Redirect URI :
http://localhost:8081/authorize
3. Handle OAuth Authorization
Run your Mule application and open : http://localhost:8081/authorize
This triggers:
Google login page
User permission (Google Drive scope request)
Google redirects back to:
http://localhost:8081/authorizeMule exchanges the authorization code for:
Access Token
Refresh Token
4. Use the Google Drive API in MuleSoft
After authorization, you can perform actions such as:
List files
Upload documents
Download files
Create new folders
Delete files
Simply add the respective Google Drive connector operations in your flow.